Reverse Engineering a Honda VFR 750 Cowling Mount with 3D Scanning
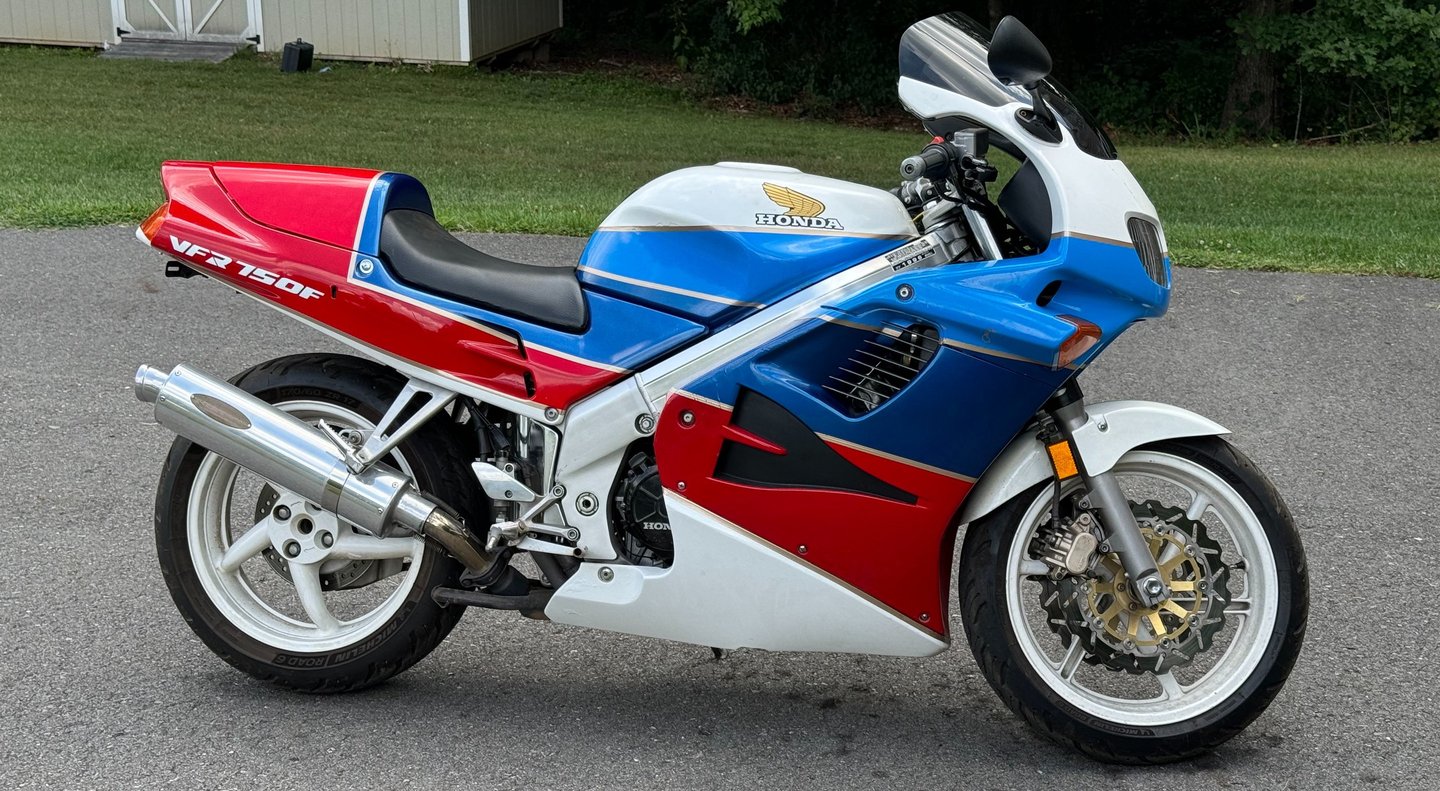
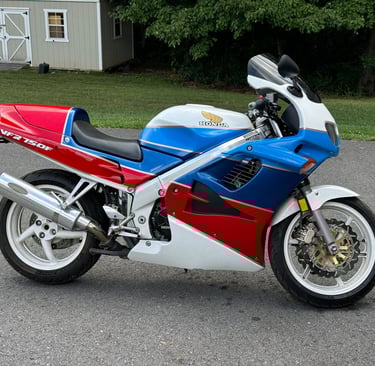
When a crucial cowling mount on my Honda VFR 750 broke, I quickly discovered that finding a replacement was nearly impossible. Instead of settling for a compromised fix, I leveraged 3D scanning to capture the design and reverse-engineer a new part. This article details the process from scan to installation.
3D PRINTING3D SCANNINGCAD
One of the challenges of owning an older motorcycle is sourcing replacement parts. My Honda VFR 750 had a broken cowling mount, and after searching extensively, I realized that new parts were no longer manufactured and used ones were incredibly rare. Rather than give up, I turned to 3D scanning to digitally capture the part and reverse-engineer a solution.
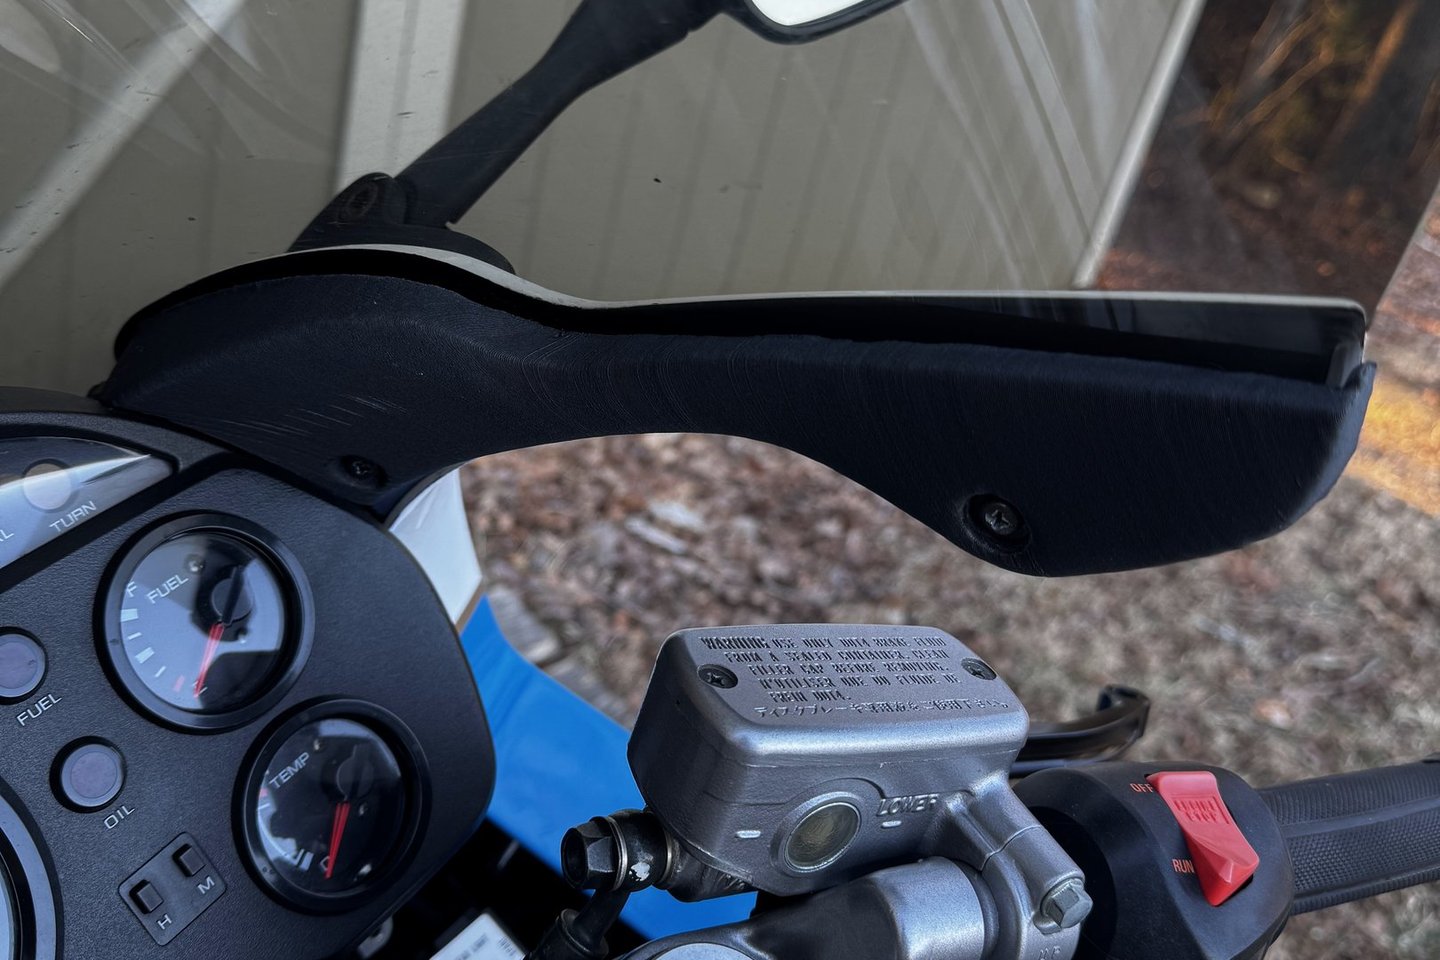
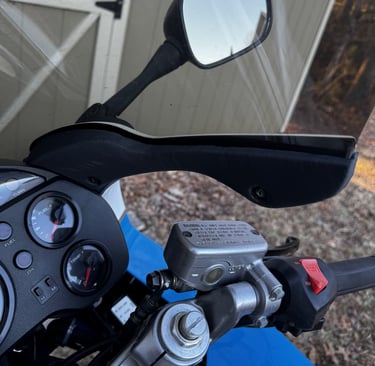
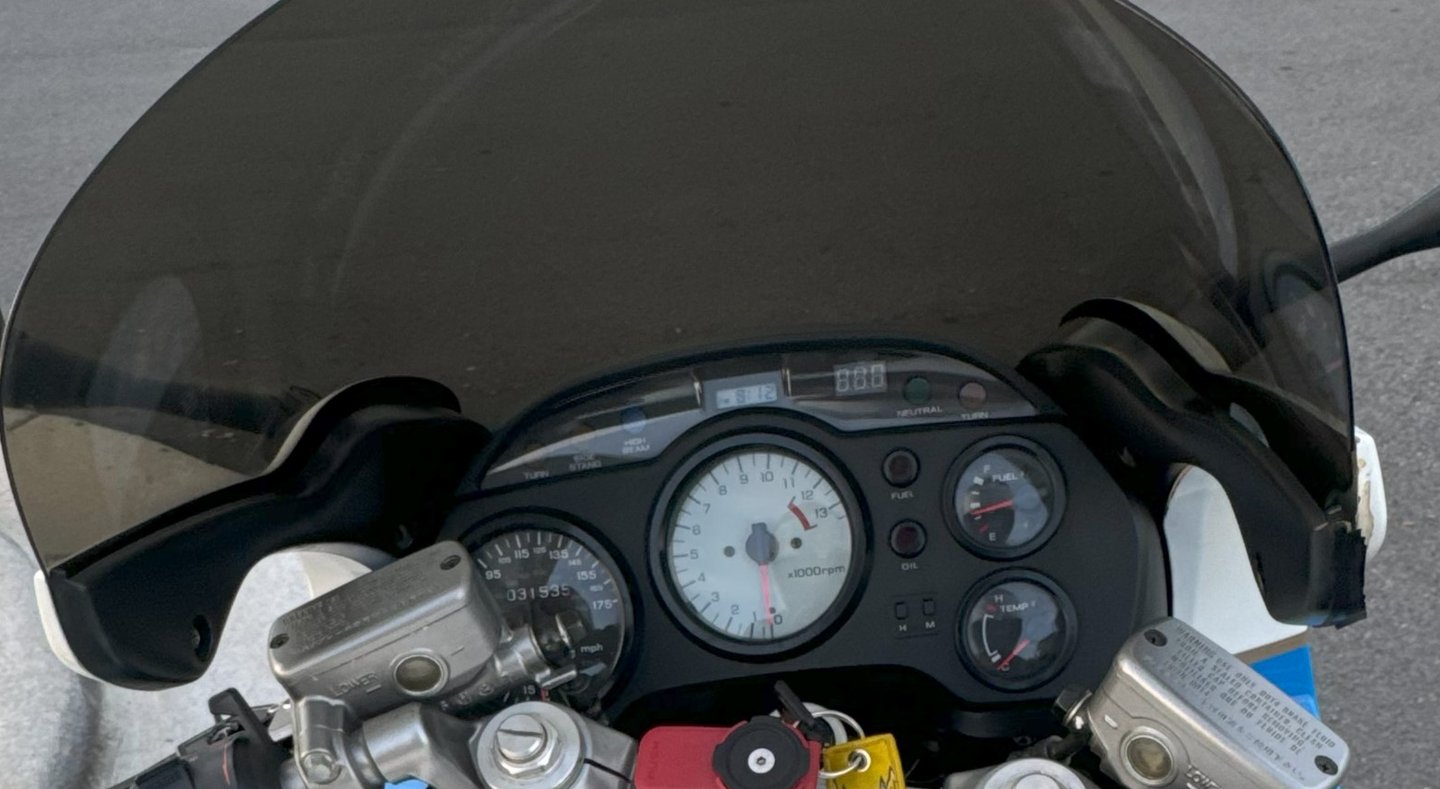
As you can see in the second picture, the right black cowling is broken. One of the mounting screw faces is missing, leaving the part dangling low and unsecured to the motorcycle. The previous owner's solution was to simply tape the part to the fairings, which resulted in an undesirable and temporary fix.
Scanning the Part
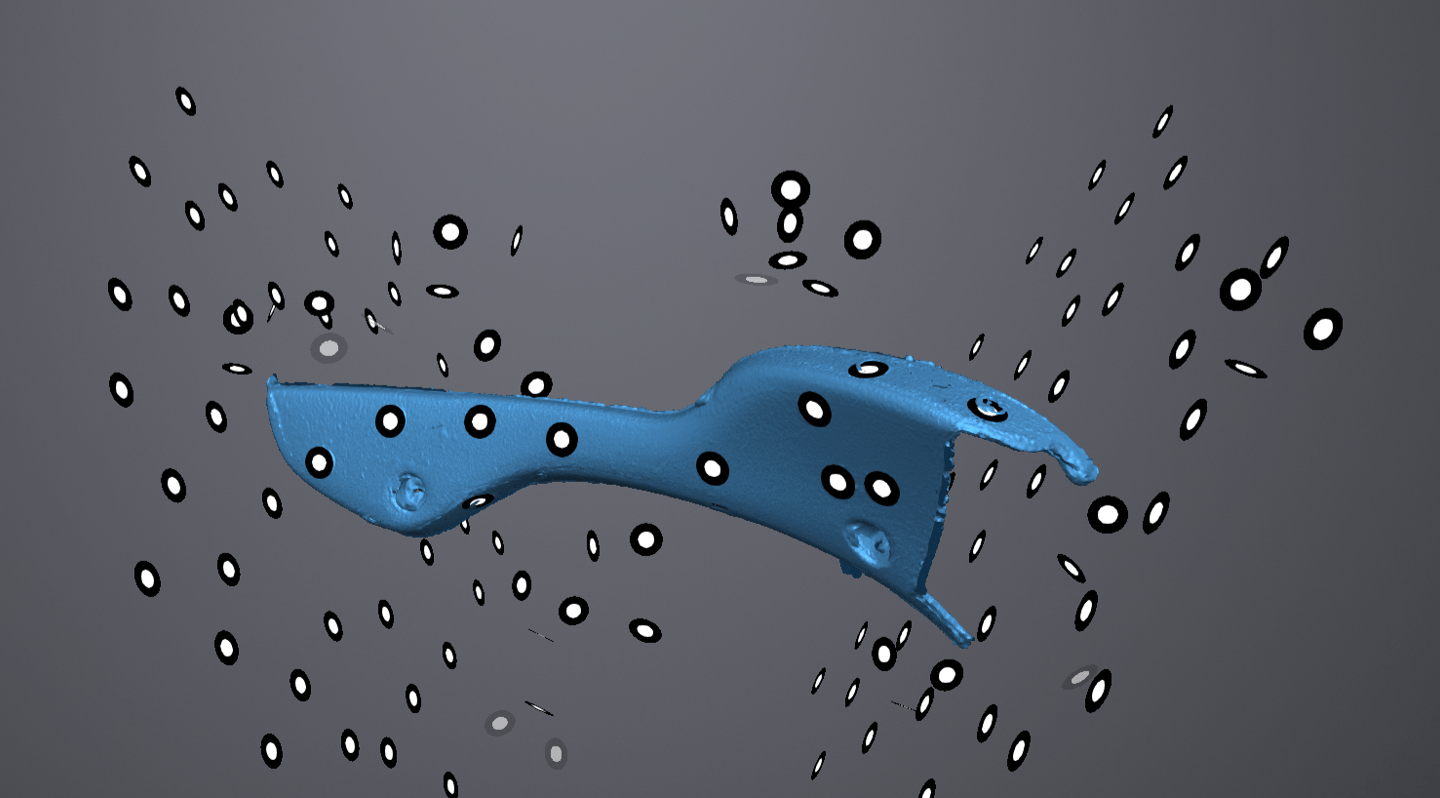
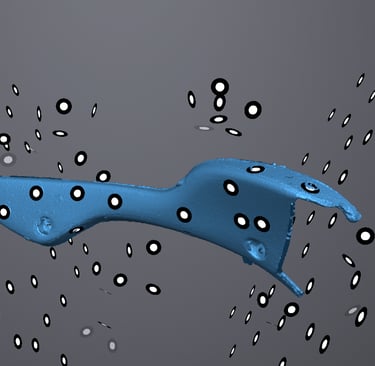
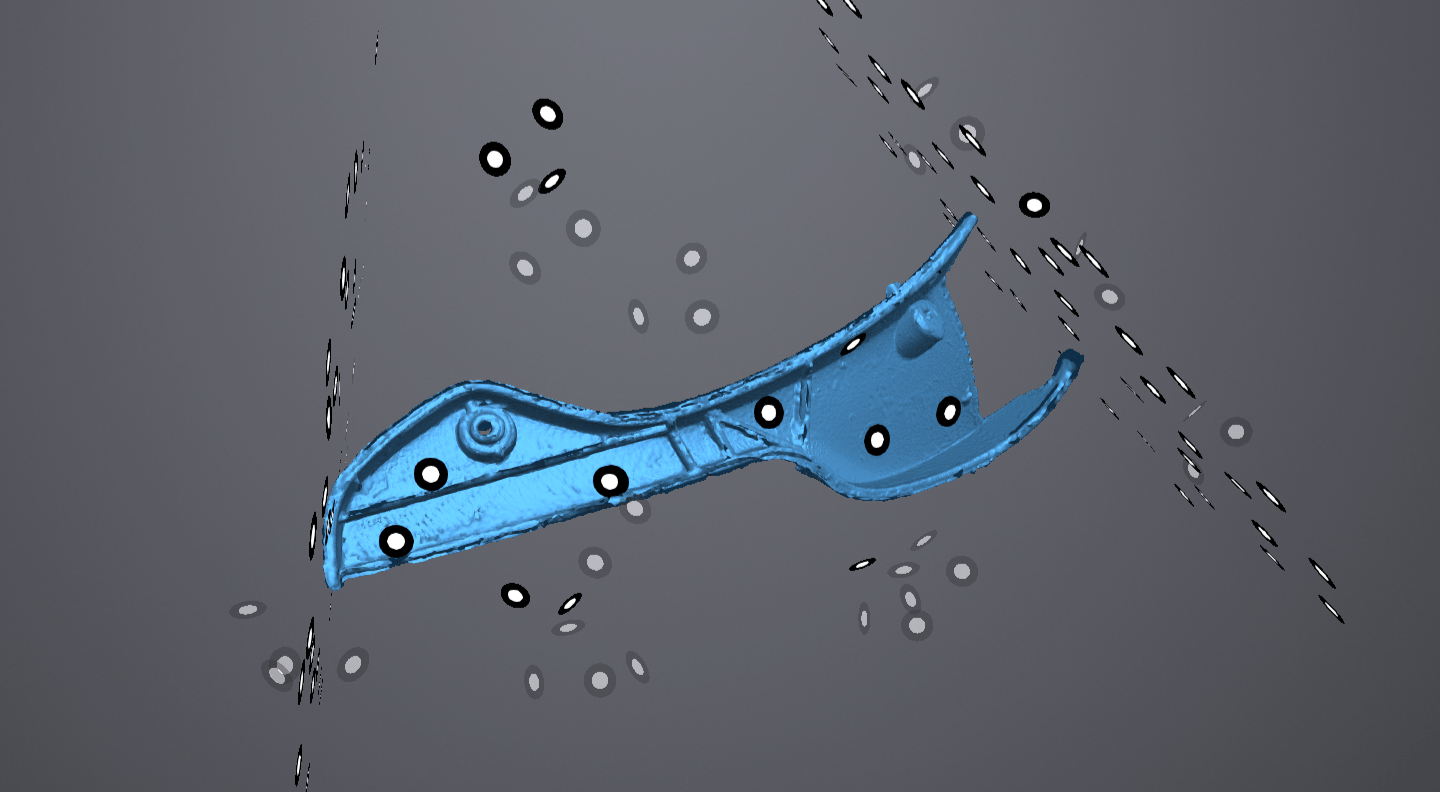
Capturing an accurate scan required multiple passes to collect all necessary data. Since the part had complex geometry, I needed scans from both sides rather than just the front. Using a turntable setup, I captured several overlapping scans to ensure complete coverage. Once the scans were aligned, I removed the turntable from the data using the markers as a cutting plane.
Processing the Scan Data
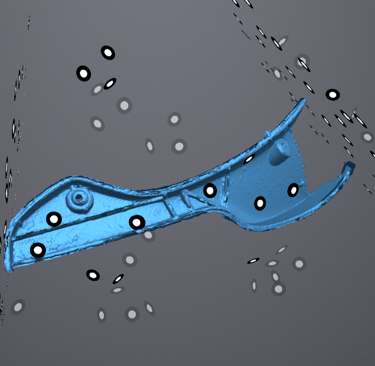
As you can see, the scan data is not perfect and needs work to be processed into something useful. This is where reverse engineering CAD software comes in. Using specialized tools, I can clean up the data and apply surfaces to the mesh, resulting in a smooth and accurate model. This step is crucial before moving into the reverse engineering phase.
Mirroring and Reverse Engineering
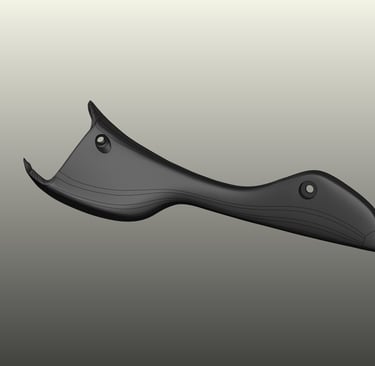
Once the scan was complete, I mirrored the left-side scan to create a copy of the broken right-side part. Using some reverse engineering CAD software, I refined the model, ensuring proper fitment and structural integrity. Any weak points in the original design were reinforced to improve durability.


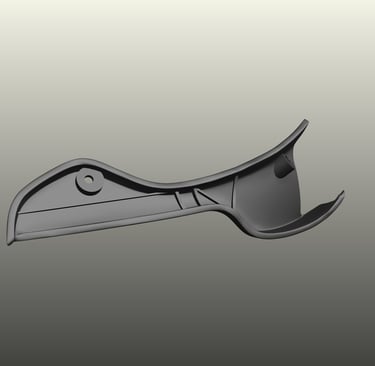
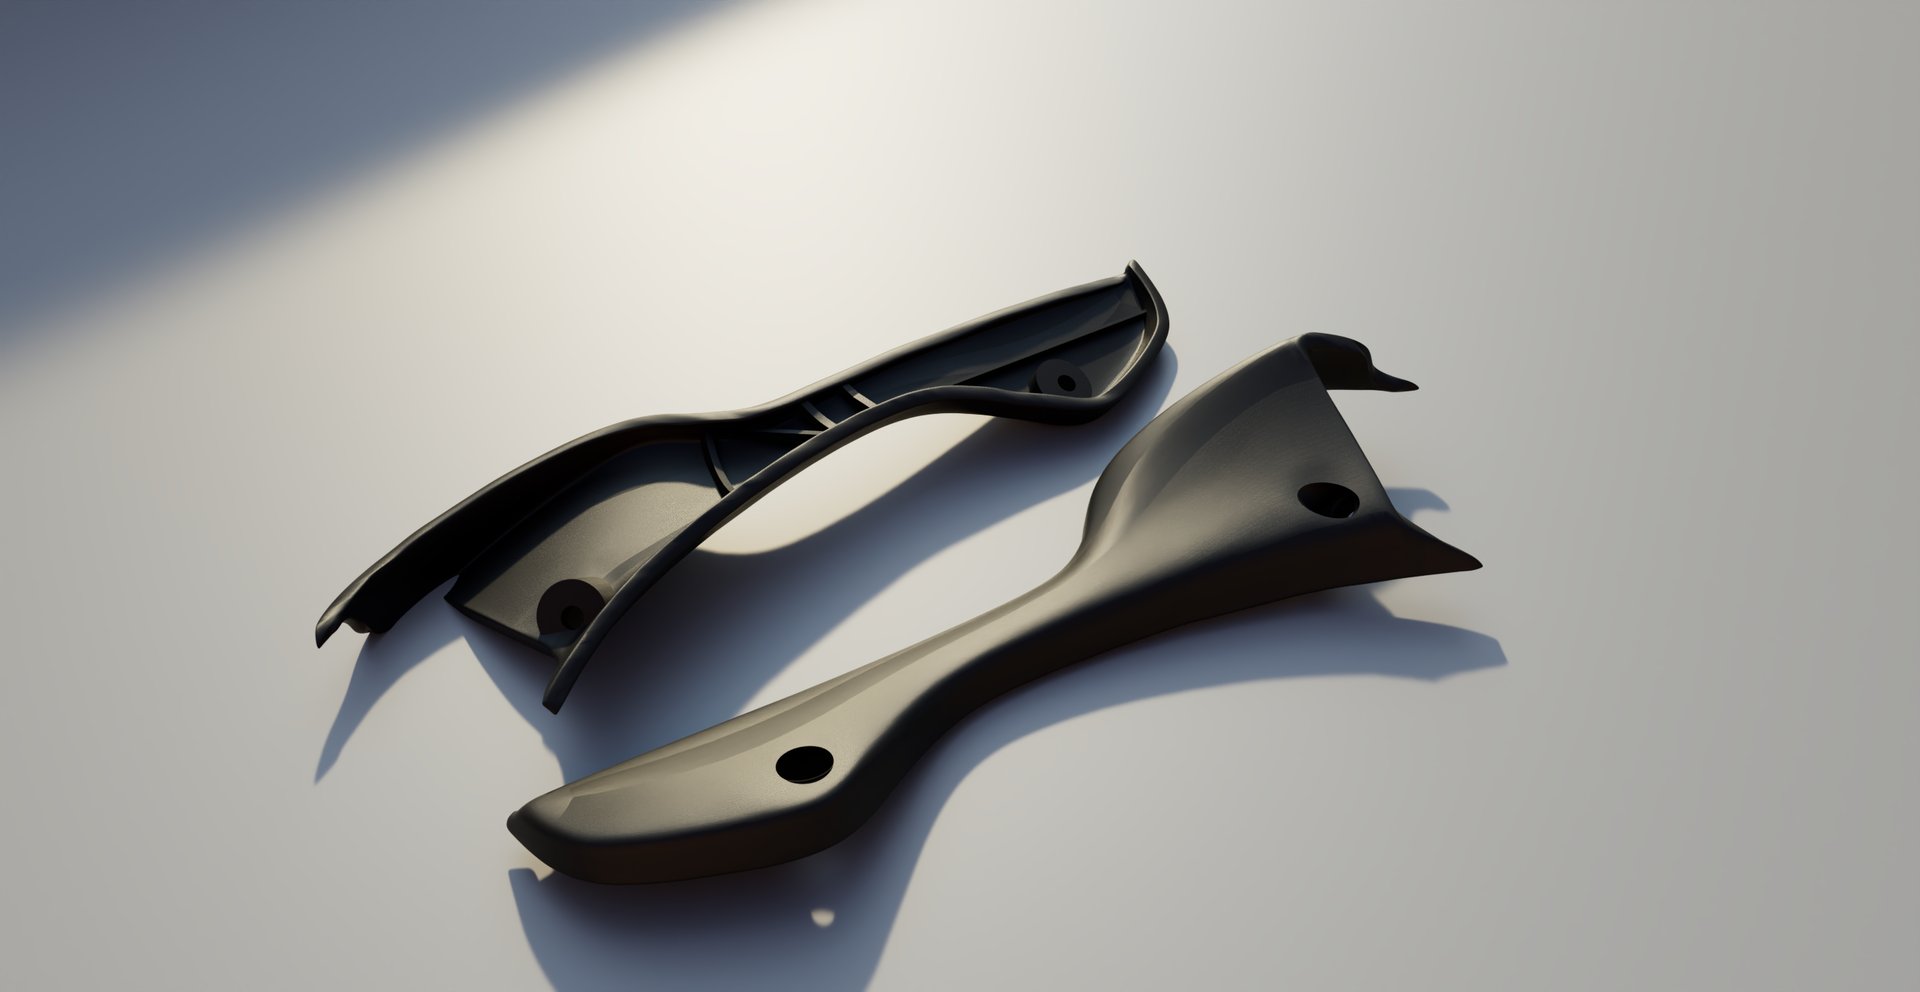
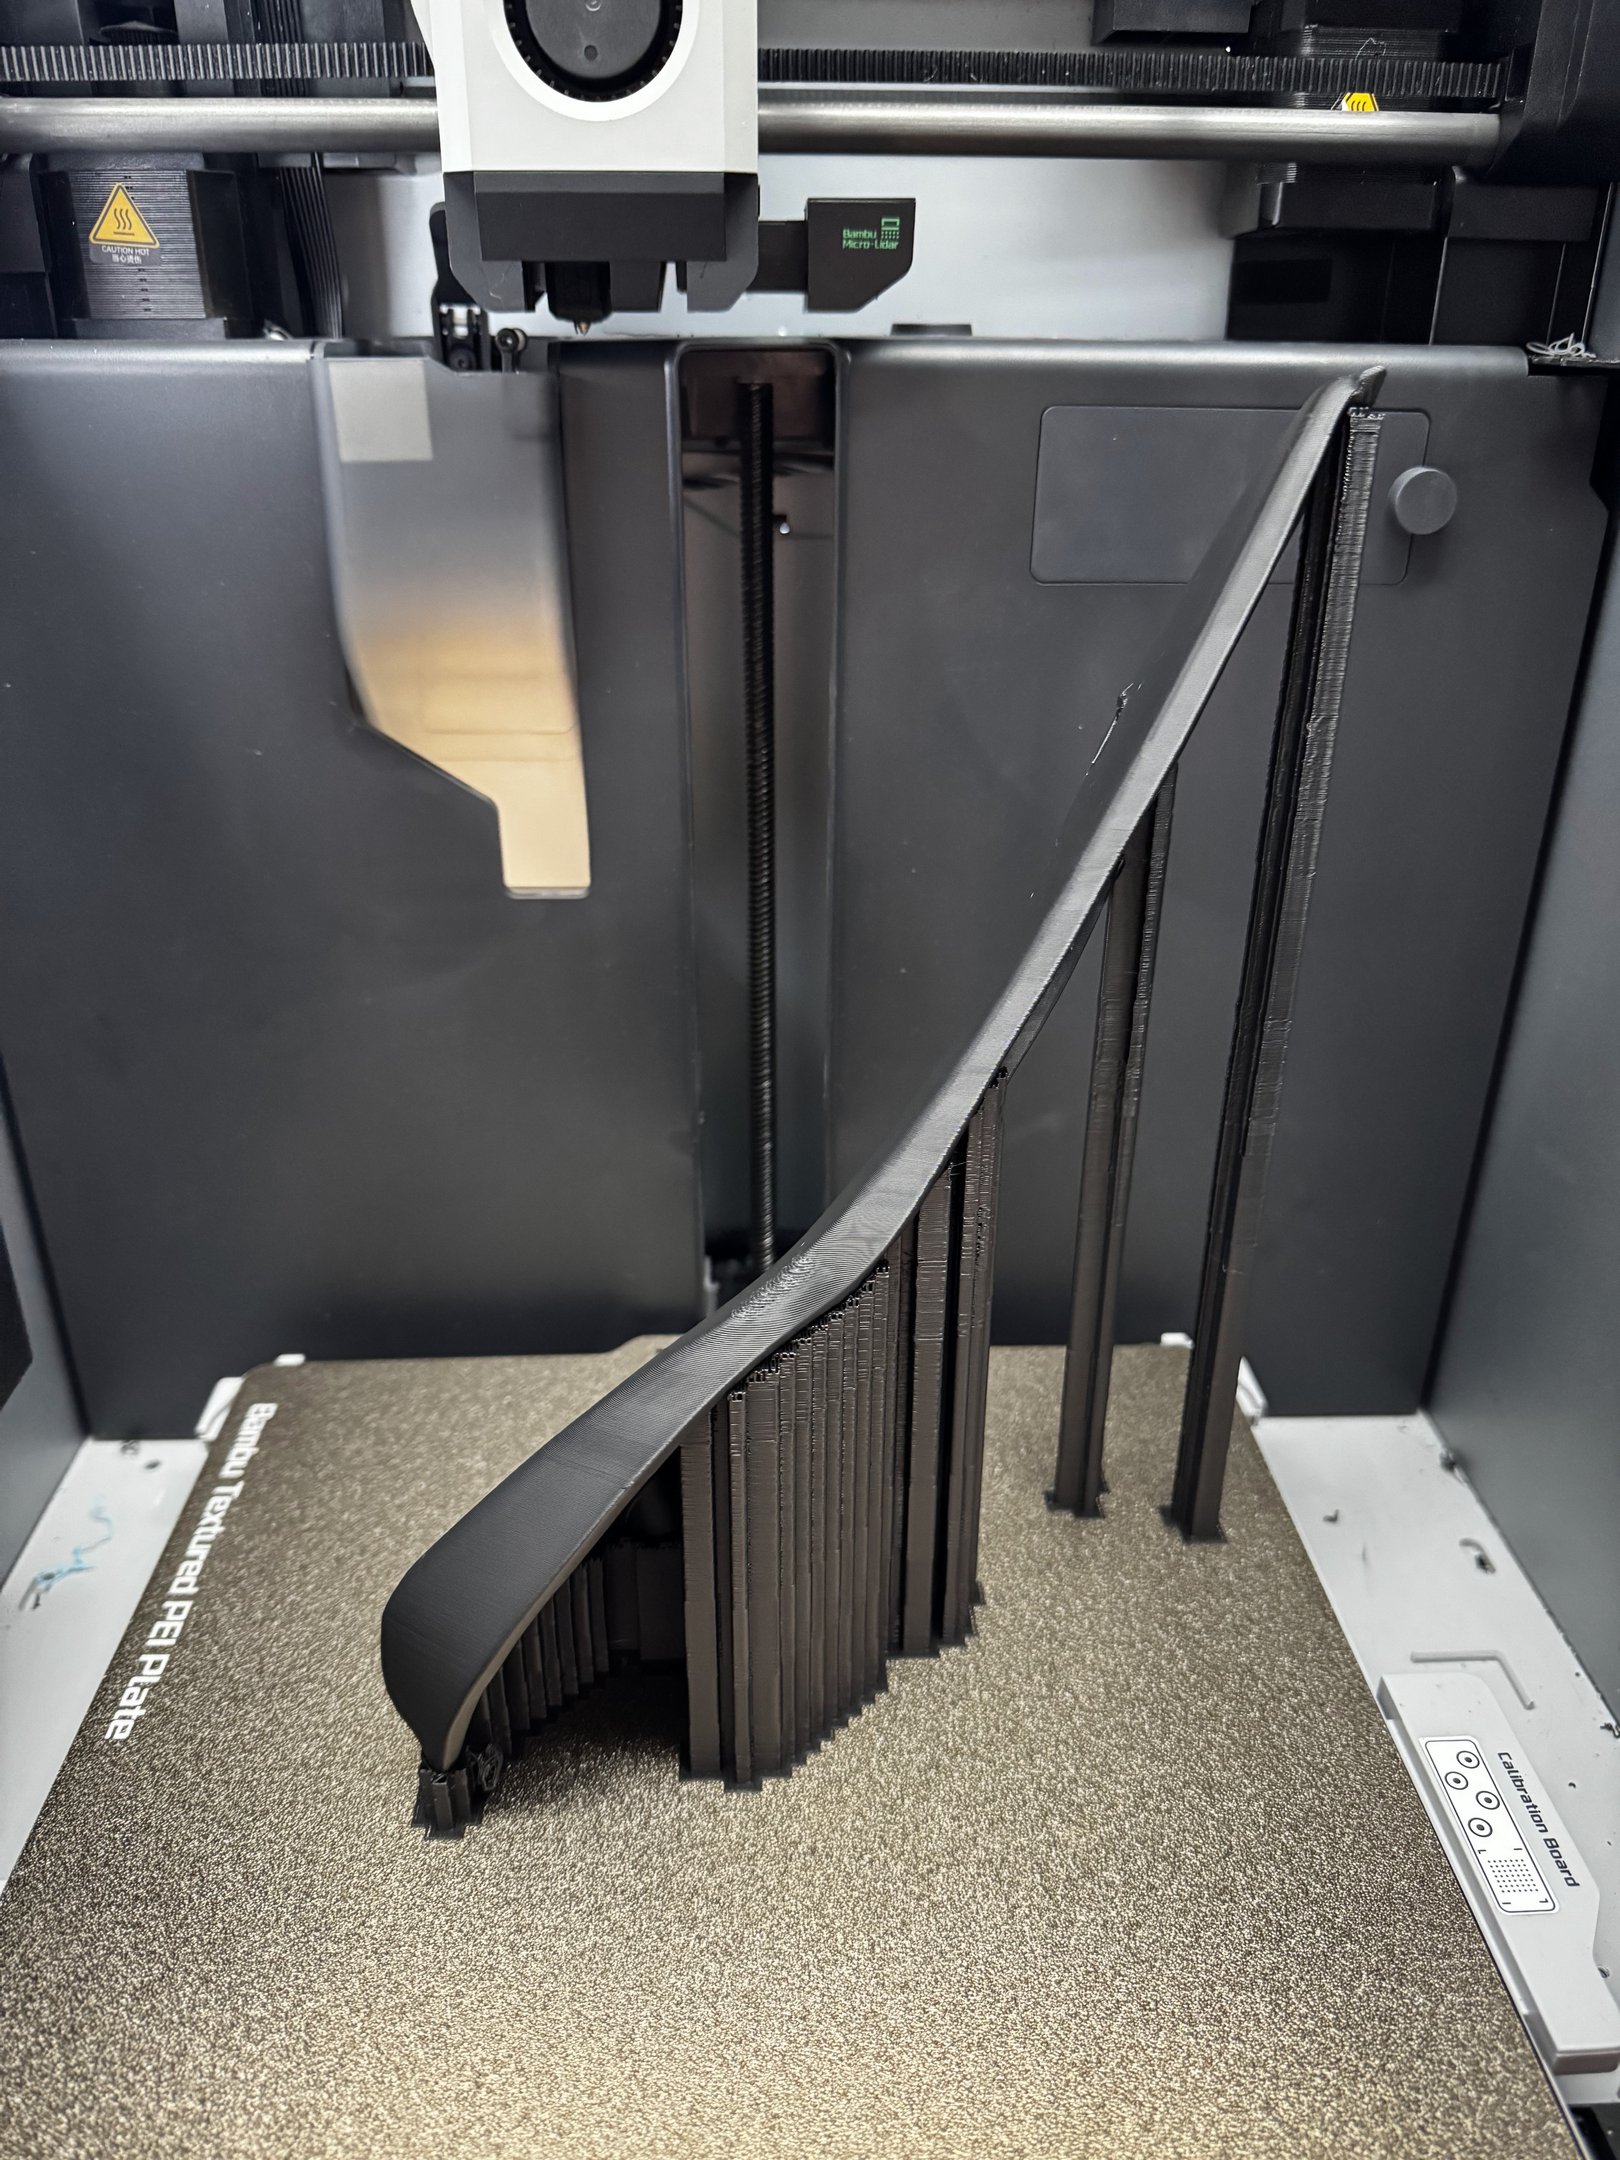
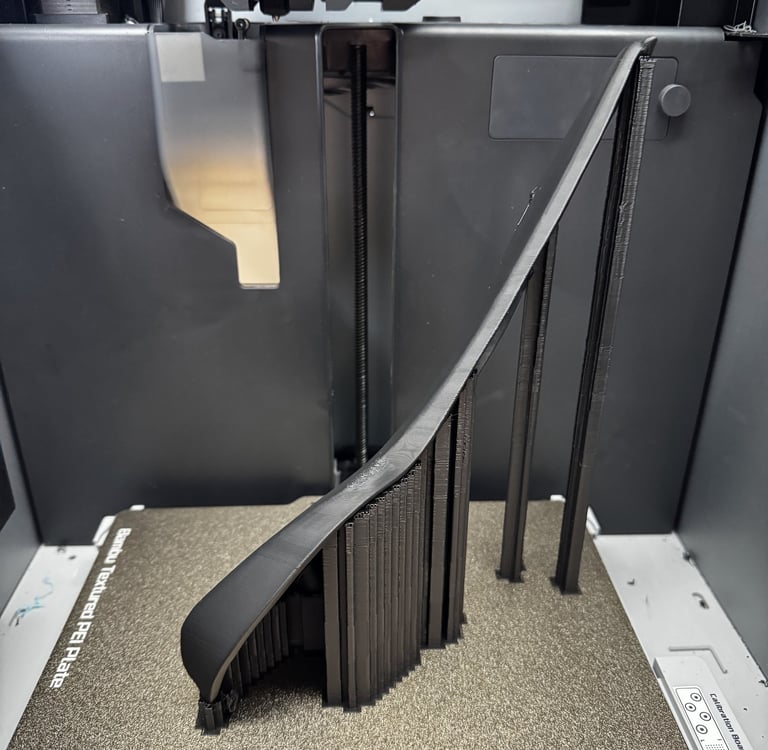
3D Printing the Replacement
With a finalized CAD model, I proceeded to 3D print the part using a high-strength material suited for motorcycle applications. The print was post-processed, sanded, and tested for fit before final installation.
Installation and Results
After mounting the new part on the bike, the results were seamless. The replacement fit perfectly, restoring the cowling’s stability and maintaining the bike’s aesthetics. This project demonstrated the power of 3D scanning and reverse engineering for sourcing otherwise unavailable parts.